By default, VMware product does not support creating a Mac OS X virtual machine directly, there is no such an option at all. To install and run Mac OS X operating system in a VMware virtual machine on Windows/Linux/Mac OS X, you have to setup an unlock patch for your VMware product (it can be VMware Workstation, VMware Workstation Player, VMware Fusion or VMware ESXi/vSphere Hypervisor) first, so as to remove this restriction.
Mac OS X Unlocker for VMware (AKA: macOS Unlocker for VMware, VMware Unlocker or Workstation Unlocker for short) is a universal unlock patch (actually a combination of the unlocker codes) developed by Donk from United Kingdom. As the best Mac OS X unlock patch for VMware virtual machine software on the Internet at present, it is capable of easily and quickly remove the function lock to Mac OS X (Server) in all VMware virtual machine products.
Mac OS X Unlocker for VMware enables your VMware program to recognize the ISO/IMG/CDR file format of Mac OS X (especially the image file of Hackintosh/OSx86 and VMware edition of Mac OS X), then to install and run it normally. Eventually, users are able to realize running a Mac OS X operating system on Windows/Linux/Mac OS X platform through a VMware virtual machine software.
What this patch does
The patch code carries out the following modifications dependent on the product being patched:- Fix vmware-vmx and derivatives to allow Mac OS X to boot
- Fix vmwarebase.dll or vmwarebase.so to allow Apple to be selected during VM creation
- Fix libvmkctl.so on ESXi 6 to allow use with vCenter
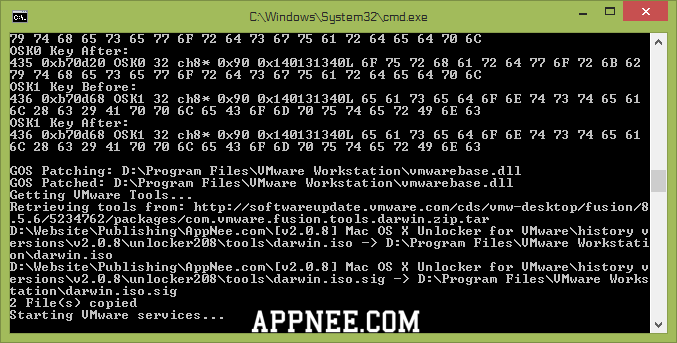
- Copy darwin.iso to VMware folder, if needed
Supported Products
- VMware Workstation 8+ on Windows and Linux (32 & 64-bit versions)
- VMware Player 4+ & VMware Workstation Player 12 on Windows and Linux (32 & 64-bit versions)
- VMware Fusion 4+ on Snow Leopard, Lion, Mountain Lion, Mavericks, and Yosemite
- VMware ESXi 5.0+
Files Description
| Windows | On Windows you will need to either run cmd.exe as Administrator or using Explorer right click on the command file and select "Run as administrator".
|
| Linux | On Linux you will need to be either root or use sudo to run the scripts. You may need to ensure the Linux scripts have execute permissions by running chmod +x against the 2 files.
|
| Mac OS X | On Mac OS X you will need to be either root or use sudo to run the scripts. This is really only needed if you want to use client versions of Mac OS X. You may need to ensure the OS X scripts have execute permissions by running chmod +x against the 2 files.
|
| ESXi | You will need to transfer the zip file to the ESXi host either using vSphere client or SCP. Once uploaded you will need to either use the ESXi support console or use SSH to run the commands. Use the unzip command to extract the files. WARNING: use a datastore volume to run the scripts! Please note that you will need to reboot the host for the patches to become active. The patcher is embbedded in a shell script local.sh which is run at boot from /etc/rc.local.d. You may need to ensure the ESXi scripts have execute permissions by running chmod +x against the 2 files.
|
System Requirements
- VMware virtual machine product is installed
- The code requires Python 2.7 to work. Most Linux distros, ESXi and OS X ship with a compatible Python interpreter and should work without requiring any additional software.
- Windows has a packaged version of the Python script using PyInstaller, and so does not require Python to be installed.
Fan Made Demo Video
Use Instructions
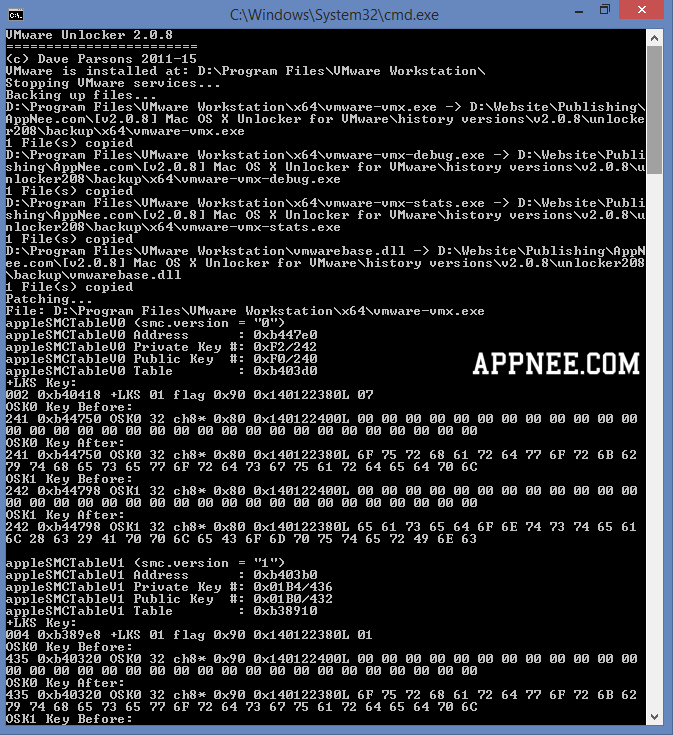
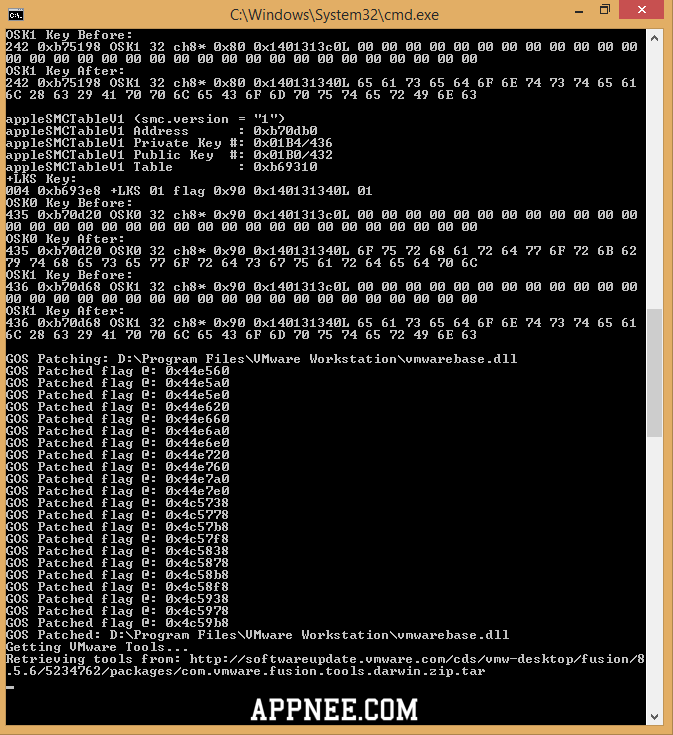
Only take VMware Workstation on Windows for example:- First of all, exit your VMware Workstation completely (including services running in background)
- Make sure all folders are named with English characters only (no special characters either)
- For Windows users, run 'win-install.cmd' as administrator (for Linux and Mac OS X users, run the appropriate files in the same folder)
- Wait while it's running, until it closes (that means it has successfully patched your VMware Workstation)
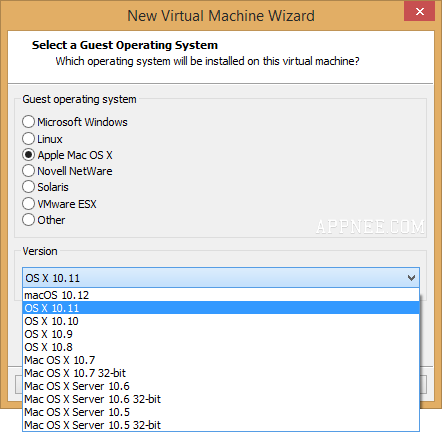
- Now, open VMware Workstation, you should be able to see the "Apple Mac OS X" option in the "Guest operation system" field
- Done!
- Run VMware Workstation
- Enter "File/New Virtual Machine..." - Next -> Choose "I will install the operating system later." -> Choose "Apple Mac OS X" option in the "Guest operation system" field -> Next, until 'Finish'
- Close VMware Workstation, enter your Mac OS virtual machine folder
- Open the file with extension name '.vmx' (VMware virtual machine configuration) using your Notepad.exe
- Find this line: smc.present = "TRUE", press Enter and add this line: smc.version = 0, then save and exit
- Open VMware Workstation, enter "VM/Manage/Change Hardware Compatibility..." -> Next -> change the "Hardware compatibility" to "Workstation 10.x" or others -> Next...
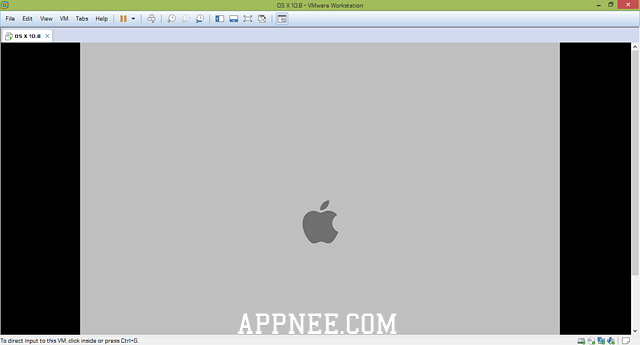
- Now, you can select your Mac OS X image file and continue to finish setup - easily and smoothly
- ....
Prompts
- Any changes you have made to local.sh will be lost. If you have made changes to that file, you will need to merge them into the supplied local.sh file.
- The unlocker runs at boot time to patch the relevant files and it now survives an upgrade or patch to ESXi as local.sh is part of the persisted local state.
- If you are using VMware Player or Workstation on Windows you may get a core dump (latest Linux and ESXi products are OK and do not show this problem).
- If you create a new VM using version 11 hardware, VMware will stop and create a core dump.There are two options to work around this issue:
- Change the VM to be HW 10 - this does not affect performance.
- Edit the VMX file and add: smc.version = "0" |
- At last, whether you can successfully install a Mac OS X also depends on the version of Mac OS X you have and the type of CPU your PC uses, but has nothing to do with the version of VMware Workstation (Player).
Related Links
Download URLs
| Version | Download | Size |
| v4.2.7 |  |
24.8 MB |
| v3.0.5 | |
6.58 MB |
| v3.0.2 | |
8.08 MB |
| v3.0.1 | reserved | n/a |
| v3.0.0 | reserved | n/a |
| v2.1.1 | reserved | 26.5 MB |
| v2.0.8 | |
3.74 MB |
| v2.0.7 | reserved | n/a |
| v2.0.4 | reserved | n/a |
| v2.0.2 | reserved | n/a |