SSH is a major means to access to the remote Linux hosts, especially when user needs to remotely login and control a Linux or Windows host. In this case, we can very conveniently log in and control the remote Linux/Windows computer by configuring a SSH client on Windows.
Bitvise SSH Client (formerly called Tunnelier) is a feature-rich SSH client application, developed to access and manage a remote Linux server with ease. In addition to the support of the relatively important dynamic port forwarding feature, it also supports multiple accounts login, SFTP with graphical interface, remote desktop control, etc. If PuTTy is similar to the Terminal on Linux, then Bitvise SSH Client is parallel to the SSH Tunnel Manager on Mac OS.
Although PuTTY is much more lightweight, sometimes I personally lose patience with its too weak function and inhumane design, therefore I prefer to turn to alternatives such like Xshell. They have just a few advantages, but that is crucial: allows to save username and password (so that you don't have to enter password with troublesome and low efficiency at each login); supports multiple tabs (easy to manage multiple Linux servers simultaneously); allows to use the rz command; makes it easier to transfer small files using WinSCP. In addition, PuTTY also has a lot of modified editions (variants) that support saving password, multi-tab, and other functions, but they are, after all, the revised versions, which always make me feel a little sick. So there is no doubt that, in this case, the Bitvise SSH Client becomes the best choice.
Below, AppNee will briefly introduce how to implement SSH proxy via Bitvise SSH Client on Windows (in order to avoid government's network blockade and censorship):
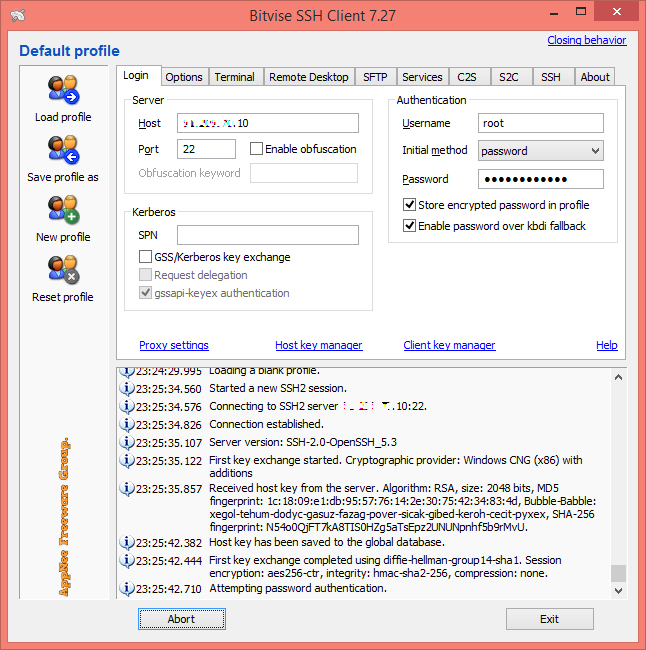
- Run Bitvise SSH Client, in the "Login" tab, fill in your SSH account information like this:
- Host: the domain or IP address of server supporting the SSH port forwarding feature
- Port: 22 (by default)
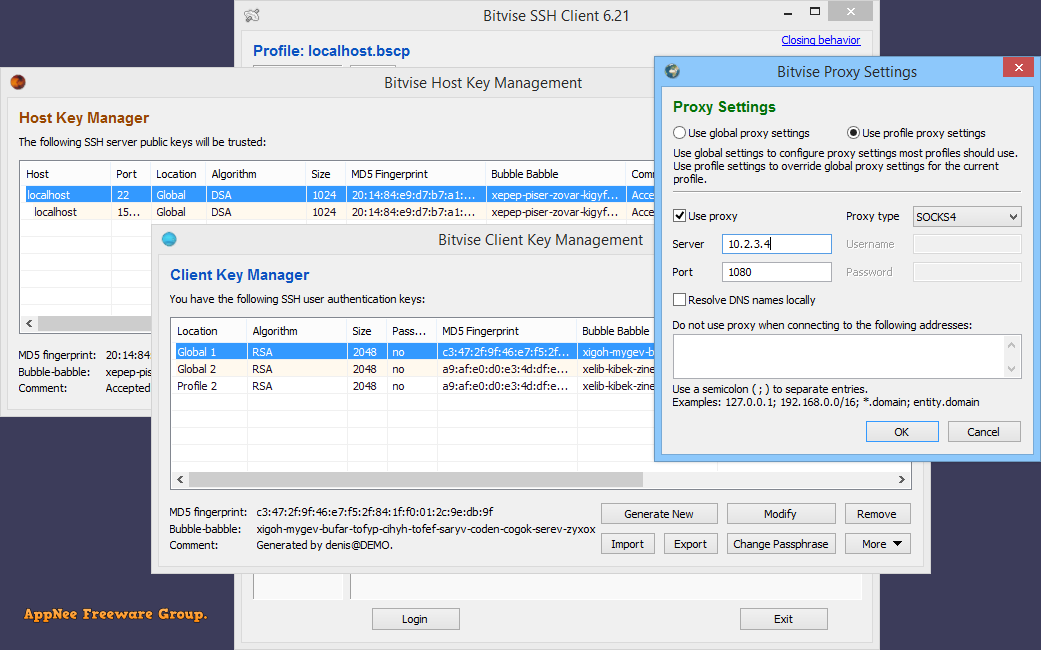
- Username: your user name
- Initial method: select 'password'
- Password: your password
- Check the "Store encrypted password in profile" options, and leave others unchanged
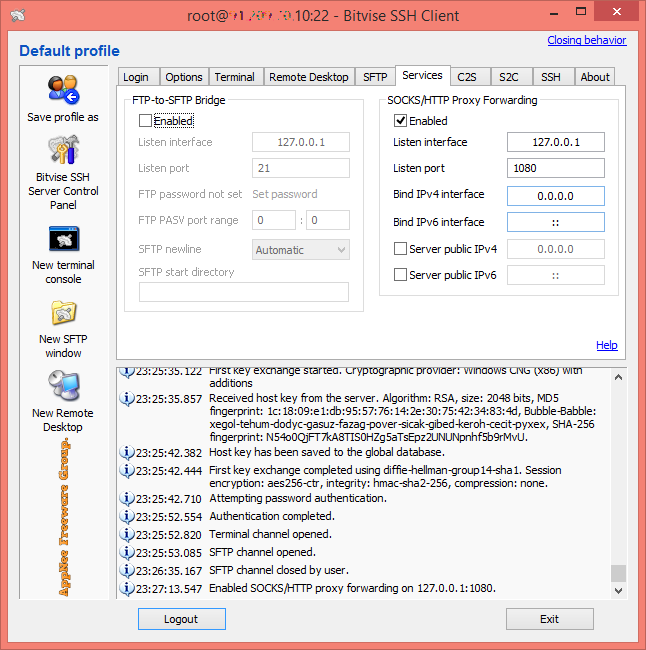
- In "Services" tab, check the 'Enabled' checkbox first, then change the default value ("1080" - may conflict with other ports) of "Listen port" field to "7070" or other bigger one (leave other options unchanged)
- Click 'Login' button. When the connection is successful, set the SOCKS proxy in the browser's network connection to "127.0.0.1:7070"
- All done, you can access the blocked websites through this SSH proxy now
Key Features
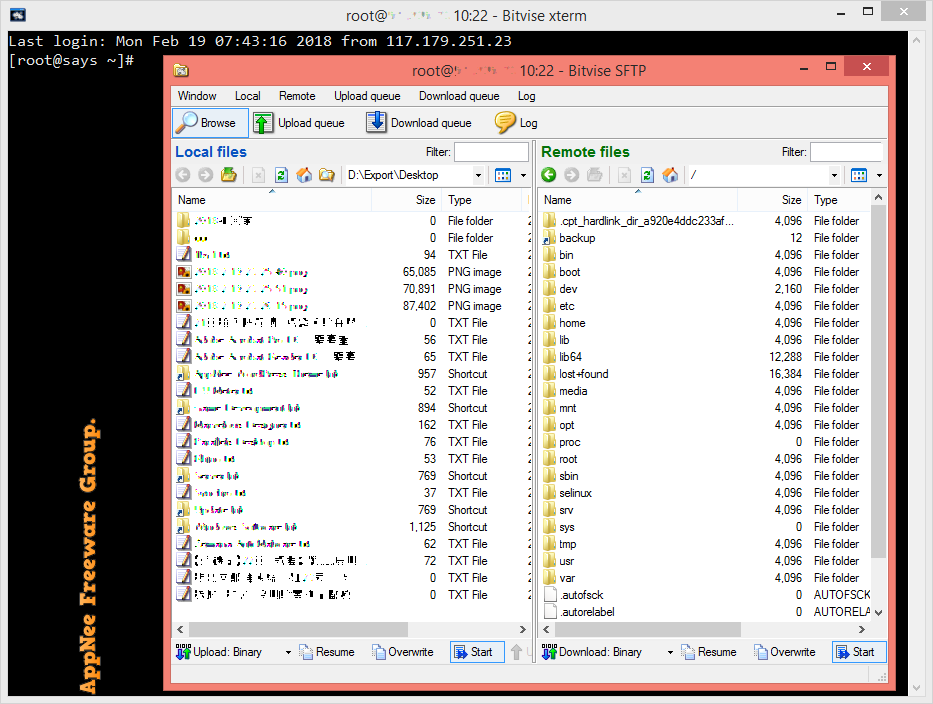
- Graphical SFTP File Transfers
- Terminal Access - Remote Console
- Single sign-on
- Port Forwarding
- Highly customizable
- Portable use of Bitvise SSH Client
- Command-Line SFTP Client
- Command-Line Remote Execution Client
- Command-Line Tunneling Client
- FTP-to-SFTP Bridge
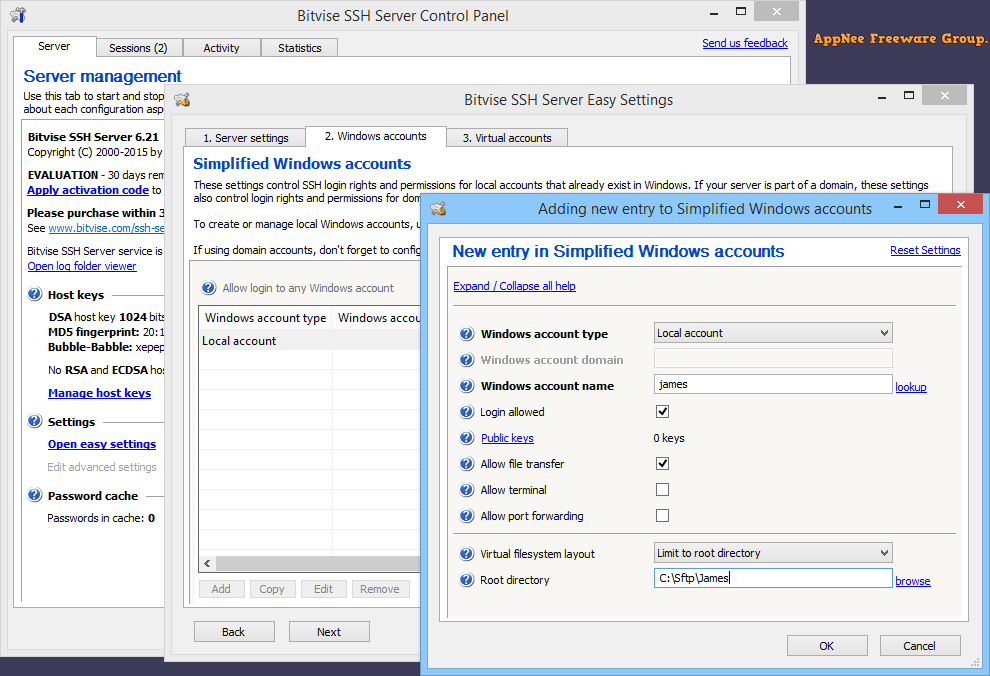
- Using with Bitvise SSH Server
Prompts
- After a successful login, Bitvise SSH Client will open the Terminal and SFTP window by default. To disable this feature, you can unselect the "Open Terminal" and "Open SFTP" checkboxes in the "Options" tab
- After completing a variety of settings, you can click "Save profile as" button on the left pane to save the current settings as a profile file. This way, the program will directly load the current settings when it starts up every time
- To set and use a proxy in your web browser, we recommend using the "Firefox + FoxyProxy" or "Chrome + Proxy Switchy! (or Proxy SwitchySharp, Proxy SwitchyOmega)". Because, this way, the proxy switching operation can be more convenient and efficient
Related Links
- Getting Started
- SSH Server Users' Guide
- SSH Server Usage FAQ
- Configuring SFTP and SCP
- Securing the SSH server
- Public keys in SSH
- Port forwarding guide
- Web browsing over SSH
- X11 forwarding
- Tunnel Remote Desktop
- Tunnel WinVNC
- How the internet works
Download URLs
| License | Version | Download | Size |
| Freeware | Latest |  (mir1 | mir2) (mir1 | mir2) |
n/a |